
Sign In / Sign Up To Add Wishlist
Wishlist is available for members only. Please sign in or sign up to add your wishlist.
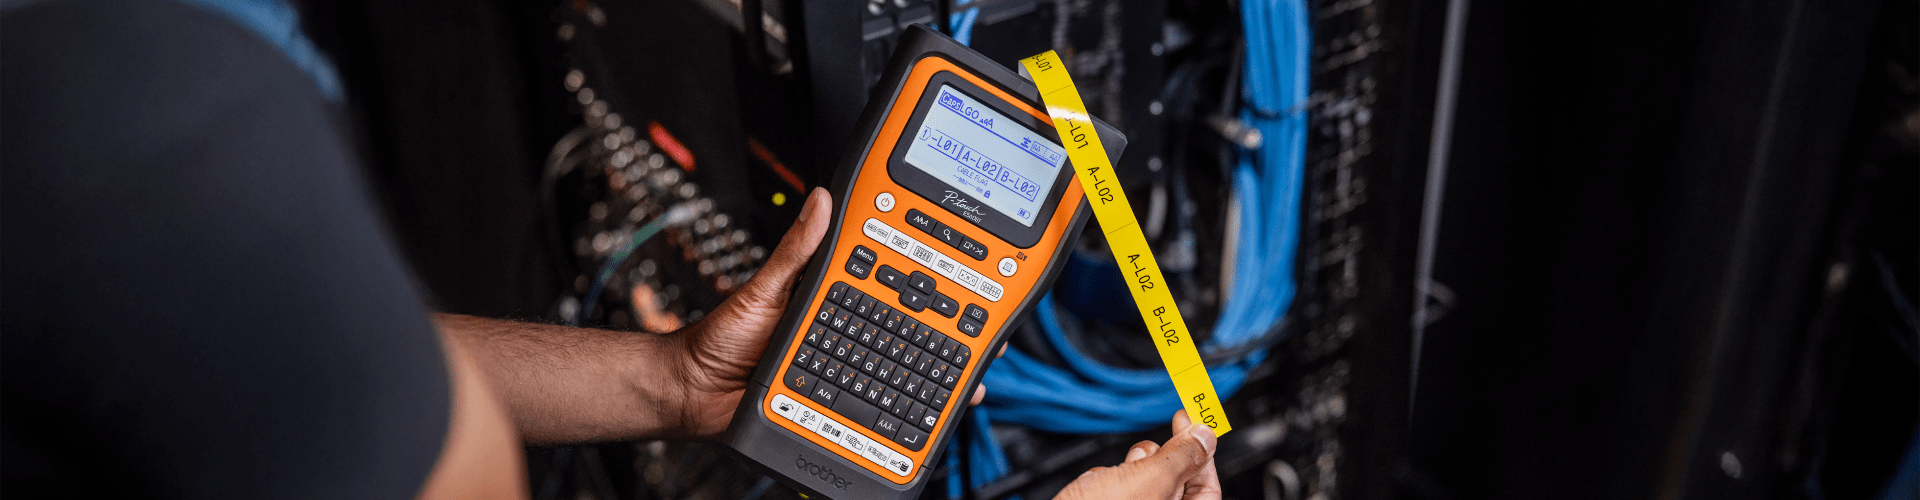
If you’ve noticed a small length of blank tape at the beginning of your label, please note that this is a normal part of how P-touch label printers work and happens for a specific reason.
Why does this happen?
P-touch labels are made of three separate layers that are laminated together as they pass through the machine. To ensure a clean seal and crisp, lasting print, the label must travel a short distance (around 23–25mm depending on the model) between the print head and the cutter. This creates a small blank margin before printing begins and is essential for the lamination process - the very feature that makes Brother labels so durable and resistant to fading, water, heat and wear. See below illustration:

Tape Cutting Options to Help Reduce Waste
There are settings you can use to reduce unnecessary tape use, especially when printing multiple labels in a row. Depending on your model, you may be able to choose from the following options. These settings adjust how much blank tape is fed before or after your labels, helping you make the most of each roll.
Note: Features and settings can vary by model. For step-by-step instructions for your specific printer, visit Brother Support.

Small Margin
Everyday labelling with less waste.

Chain Print
Print a series of labels in one go

Half Cut
Print a strip of easier-to-peel labels

No Cut
Long runs to be trimmed manually

Special Tape
For heat shrink and iron-on tapes

Large Margin
Default setting
1. Small Margin
Best for: Reducing tape on individual labels
This setting trims down the default blank space on each side of the label. You’ll still get a small 2-4mm margin on both the left and right sides - just enough to ensure clean cuts without wasting too much tape.
Note: During printing, you might see a message saying "Cut tape or press Enter to continue". When this appears, press the Tape Cutter Lever to trim the tape - this will create a small 2-4mm margin on the left side of your label. Once printing is finished, press the lever again to create the same margin on the right side.

2. Chain Print
Best for: Printing a series of different labels in one go
Chain Print reduces tape usage by skipping the automatic cut between each label. Instead, it prints a short 23-25mm lead margin at the beginning, followed by each label with a small 4mm margin on either side of the text.
Note: Once the final label is printed, feed a little more tape before cutting to ensure the last label isn’t trimmed too close. Depending on your model, this may be done by pressing the Feed & Cut button or confirming “OK to feed?” on the display. Avoid pulling the tape manually, as this could damage the cassette.

We also highly recommend watching the video below to get a better understanding of how Chain Print works:
3. Half Cut
Best for: Printing a strip of labels that are easy to peel and apply in sequence.
How it works: Cuts only the backing between labels while keeping the label face intact, so the entire strip stays together until you’re ready to peel and apply.
Tip: Combine Chain Print with Half Cut to minimise waste and speed up application. Finish with Feed & Cut at the end for best results.
Note: This feature may not be available on all models.
4. No Cut
Best for: Printing multiple copies of a label or using special tapes like Fabric Iron-On
This setting begins with a 23-25mm lead margin, then prints each label with a 4mm margin on both sides. It disables automatic cutting, making it ideal for printing multiple labels in one go or working with tapes that can't be cut by the machine.
Note: The built-in cutter is not used. If you're using special materials like Fabric Iron-On Tapes or Heat Shrink Tubes, remove the tape cassette after printing and use scissors to cut the tape manually.

5. Special Tape
Best for: Fabric Iron-On Tapes, Heat Shrink Tubes, and other specialty tapes
Use this setting when working with tapes that aren’t compatible with the built-in cutter, such as Fabric Iron-On or Heat Shrink Tube. After printing, remove the tape cassette from the machine and use scissors to cut the label manually.
Note: These special materials should not be cut using the automatic cutter, as this may damage the tape or the machine.
6. Large Margin (Default)
This is the standard setting when you first use your machine. It leaves approximately 24mm of blank space on either side of your label.
Note: To save tape, consider switching to Small Margin or Chain Print for everyday labelling.
Summary
| Option | When to use | Cuts automatically? |
Tape Saved? |
| Small Margin/Narrow Margin | Everyday labelling with less waste | Yes (after each label) | Yes |
| Chain Print | Printing several different labels back-to-back (change text between labels) | No (printer neither feeds nor cuts, finish by feeding then cut | Yes |
| Half Cut | Any time you want an easy-peel strip; often combined with Chain Print | Backer only is cut between labels | Yes |
| No Cut | Long runs you'll trim manually | No | Yes |
| Special Tape | Iron-on tapes | No | Yes |
| Large Margin (Default) | Default setting | Yes (after each label) | No |
Still unsure which setting to use?
Visit our Support Centre for model-specific help.