Sign In / Sign Up To Add Wishlist
Wishlist is available for members only. Please sign in or sign up to add your wishlist.
Embroidery ideas for your PR embroidery machine

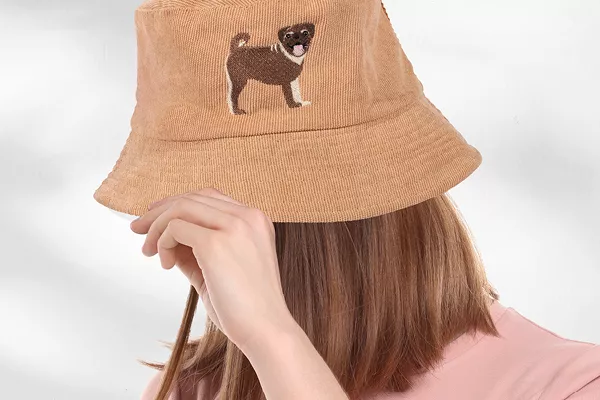
Working with Caps
Whether it’s front and centre for an attention seeking logo or more subtle branding on the back or side, caps offer a world of branding and personalisation options that are virtually impossible to achieve on a standard embroidery machine.
Spend some time practicing attaching the cap frame driver and hooping your cap and you’ll soon be stitching out as confidently as you would for any design.
Where you will be hooping caps regularly, set up the hooping jig. For continuity of stock, consider buying caps from a wholesaler that stocks your preferred style as part of their core range
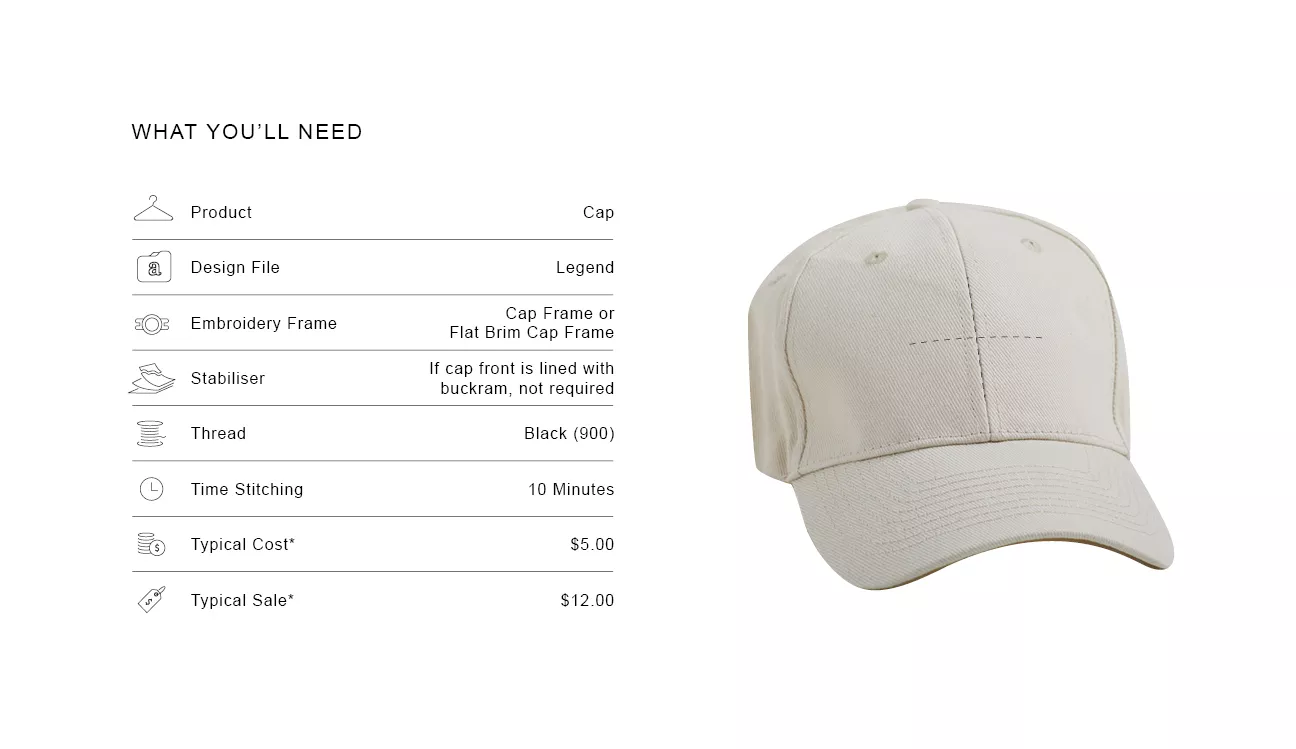
Everything you'll want to know
Position Guide
Hoop the cap, aligning the centre front seam to the centre mark on the cap frame. Centre design to the seam, move design as low as possible in frame area.
Size Guide
The Cap Frame has a maximum embroidery area of 130 x 60mm high. A tall thin font has been selected to allow maximum number of characters.
Design Variation
For Flat Brim caps or for customers that want their design embroidered closer to the cap’s peak, use the Flat Brim Cap Frame instead.
Market insight
Caps are one of the most frequently embroidered items for brands. More affordable than shirts they can be the ideal solution for launches and events
Tip
Double check your cap is clamped securely in the cap frame to minmise movement while it is stitching
Shortcut
Just on the back? Use a Round Frame to add embroidery to the back of the hat, adding stabiliser if hat is not lined sufficiently.
Troubleshooting
Is the centre seam eating your stitches? It’s not you. This is a common issue if your file has not been digitised specifically for a finished hat
Important Note
**Figures are indicative figures only. Costs refer only to consumables required. Complete your own research before determining your own costs and setting your prices.